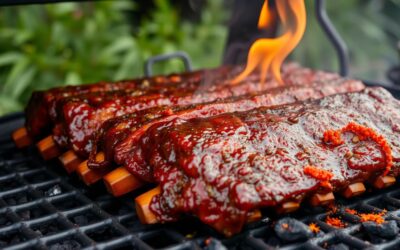
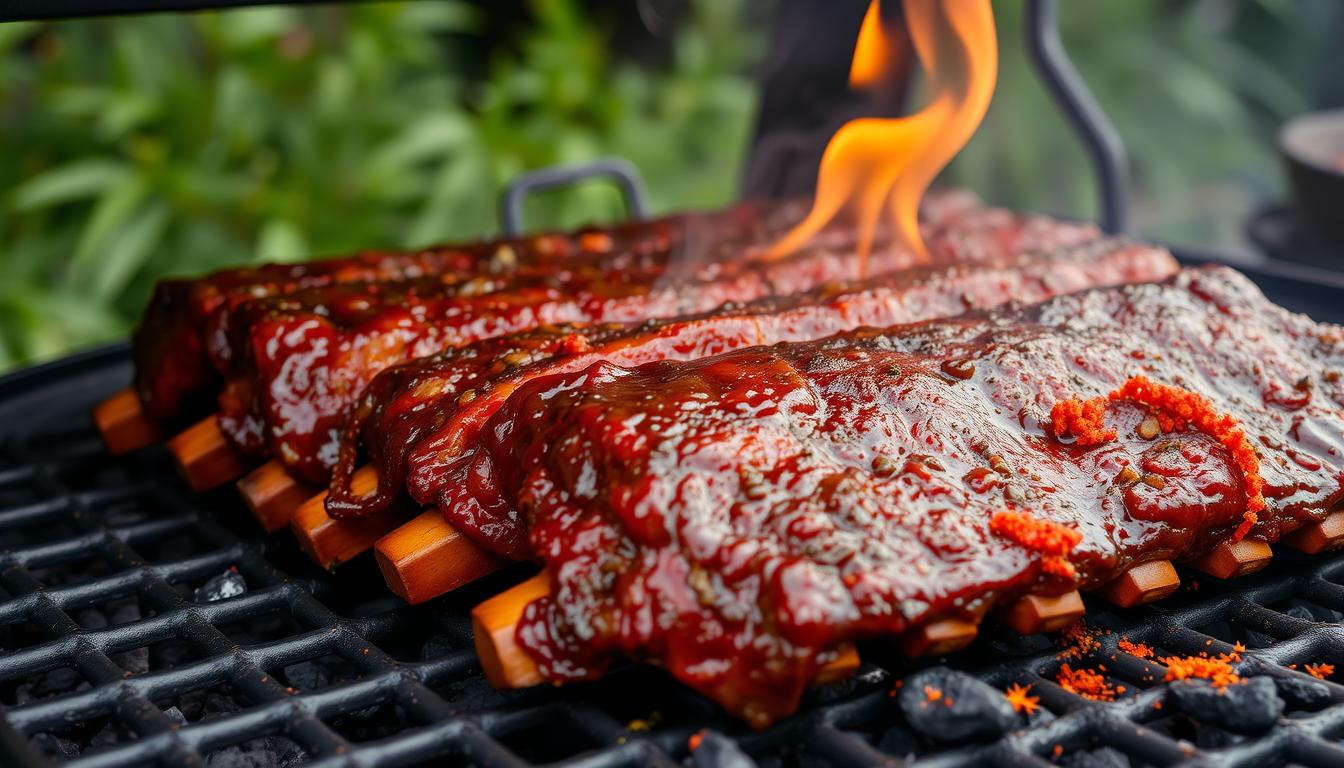
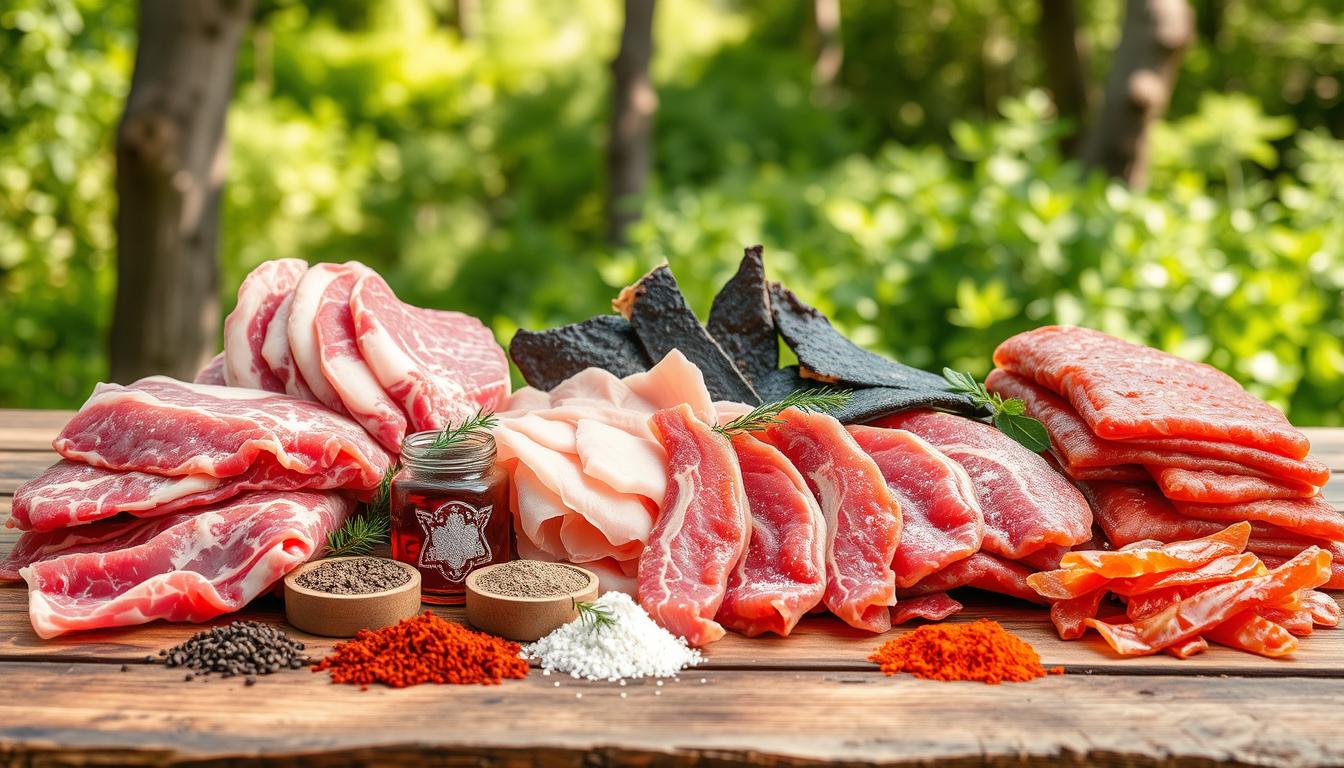
The first time I grilled beef ribs, I was really nervous. I thought it was like magic to make tough meat tender and full of flavor. But after trying many times, I found that grilling beef ribs is more than just cooking. It’s a way to connect with our cooking traditions.
Whether you grill a lot or just sometimes, making great beef ribs takes time and skill. This guide will show you how to make beef ribs that everyone will love. You’ll learn how to turn simple ribs into a dish that impresses your guests.
Table of Contents
Understanding Beef Rib Cuts and Selection
Choosing the right beef ribs can make your grilling better. Whether you love BBQ or are a grill expert, knowing the difference between beef back ribs and short ribs is key. It helps make your dishes taste amazing.
Beef ribs have two main types, each with its own special qualities and cooking ways:
Back Ribs vs Short Ribs: A Detailed Comparison
- Beef Back Ribs:
- Less meaty but tender
- Typically contain 7-8 ribs per rack
- Weigh between 3-4 pounds
- Best for grilling and roasting
- Beef Short Ribs:
- More meat and higher fat content
- Two primary cutting styles: English and Flanken
- Rich, intense flavor profile
- Ideal for braising and slow cooking
How to Choose Quality Beef Ribs
When picking beef ribs, keep these tips in mind:
- Look for consistent marbling
- Check meat color – should be bright red
- Ensure minimal surface moisture
- Verify fresh packaging date
Portion Sizing Guide
Planning your beef rib portion is key for a great cookout. For beef back ribs, plan about 1½ pounds per adult. This way, everyone gets a good amount of tasty grilled ribs.
“The secret to great beef ribs is not just in the cooking, but in selecting the right cut.” – Professional Grill Master
Essential Equipment and Setup for Grilled Beef Ribs
Getting ready to grill ribs means picking the right tools and setting them up right. The right gear makes your backyard barbecue shine like a pro’s. Let’s look at the must-haves for a top-notch grilling experience.
Must-Have Grilling Equipment
- Reliable grill (gas or charcoal)
- Digital meat thermometer
- Long-handled tongs
- Sturdy grill brush
- Heavy-duty aluminum foil
- Drip pan
Grilling ribs needs precision. A top-notch digital meat thermometer is key for perfect tenderness. Choose one that reads temperatures fast for accurate checks.
“The right equipment transforms good cooking into great grilling.” – BBQ Experts
Grill Setup Strategies
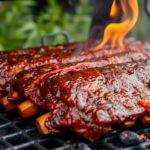
Setting up your grill for indirect heat is key for beef ribs. This method cooks them slowly and evenly, making them tender. Place a drip pan under the grates to catch fat and prevent flare-ups.
| Grill Type | Recommended Temperature | Cooking Duration |
|---|---|---|
| Gas Grill | 250-275°F | 3-4 hours |
| Charcoal Grill | 225-275°F | 4-5 hours |
Keeping the grill temperature steady is vital. Your drip pan does more than catch fat; it helps control the temperature. Place it between the heat and the meat for best results.
Pro Tip for Grilling Ribs
Always preheat and clean the grates before cooking. This stops ribs from sticking and gives them nice grill marks. A clean grill is the start of amazing barbecue.
Preparing Your Beef Ribs for the Grill
Grilling perfect beef ribs starts with careful preparation. The success of your grill depends on how well you prepare these delicious cuts. A well-prepared rack of ribs can turn a simple barbecue into a memorable meal.
Removing the Membrane
The secret to great ribs is removing the tough membrane from the back. This thin, chewy layer stops your rib rub from getting into the meat. It can make eating less enjoyable.
- Use a butter knife to lift the membrane’s corner
- Grip the membrane with a paper towel for better traction
- Pull the membrane off in one smooth motion
Trimming Excess Fat
While fat adds flavor, too much can cause flare-ups and uneven cooking. You want to balance the surface for your rib rub to stick to.
| Fat Trimming Guidelines | Recommended Action |
|---|---|
| Thick Fat Layers | Trim to approximately 1/4 inch thickness |
| Uneven Fat Sections | Smooth out with a sharp knife |
| Excess Hanging Fat | Remove to prevent burning |
Basic Preparation Methods
Applying a rib rub is an art that makes your beef ribs stand out. Use vegetable oil as a base to help the spices stick, creating a tasty crust.
“Great barbecue is about patience, precision, and passion.”
- Pat ribs dry with paper towels
- Coat lightly with vegetable oil
- Generously apply rib rub
- Let ribs sit for 30-45 minutes to absorb flavors
By following these steps, your beef ribs will be ready for a delicious grilling experience. It will impress your family and friends.
Creating the Perfect Rib Marinade
Turning ordinary beef ribs into a delicious treat begins with a great rib marinade. Your marinade adds deep, complex flavors to every bite.
A top-notch rib marinade has three main parts:
- Acid: Breaks down meat fibers
- Oil: Helps spread flavors
- Seasonings: Add depth and complexity
For the ultimate beef rib marinade, try this recipe:
“The perfect marinade transforms good ribs into an unforgettable culinary experience.”
Here’s what you’ll need for your marinade:
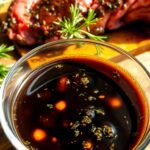
- ½ cup dry red wine
- ¼ cup soy sauce
- 2 tablespoons vegetable oil
- 2 tablespoons barbecue sauce
- 1 teaspoon dried thyme
- ½ teaspoon kosher salt
- ½ teaspoon black pepper
- 2-3 minced garlic cloves
Marinate your beef ribs in the fridge for 12-24 hours. This lets the flavors soak in, making the meat tender and tasty. Always keep the marinade cold to avoid bacterial growth and keep food safe.
Feel free to tweak your marinade to match your taste. Whether you like it tangy, sweet, or spicy, the right marinade can make your grilled beef ribs unforgettable.
Mastering Grilled Beef Ribs Temperature Control
Temperature control is key to great grilling. When smoking ribs, being precise is essential. It helps make delicious beef ribs that will wow BBQ fans.
Direct vs Indirect Heat Methods
Knowing how to manage heat changes your grilling game. There are two main ways to cook beef ribs:
- Direct Heat: High-intensity cooking for searing
- Indirect Heat: Slow, consistent temperature for tender results
Maintaining Consistent Temperature
Keeping the temperature steady is vital for perfect ribs. Here’s what pros do:
- Use a digital thermometer
- Adjust grill vents carefully
- Create two-zone heating areas
Time and Temperature Guidelines
| Cooking Phase | Temperature | Duration |
|---|---|---|
| Initial Smoking | 225°F – 250°F | 3-4 hours |
| Wrapped Cooking | 235°F | 2 hours |
| Finishing | 250°F | 1 hour |
“Patience and precise temperature control separate good BBQ from great BBQ.” – Professional Pitmaster
Mastering these temperature tips will boost your smoking ribs skills. You’ll make restaurant-quality beef ribs right at home.
Smoking Techniques for Enhanced Flavor
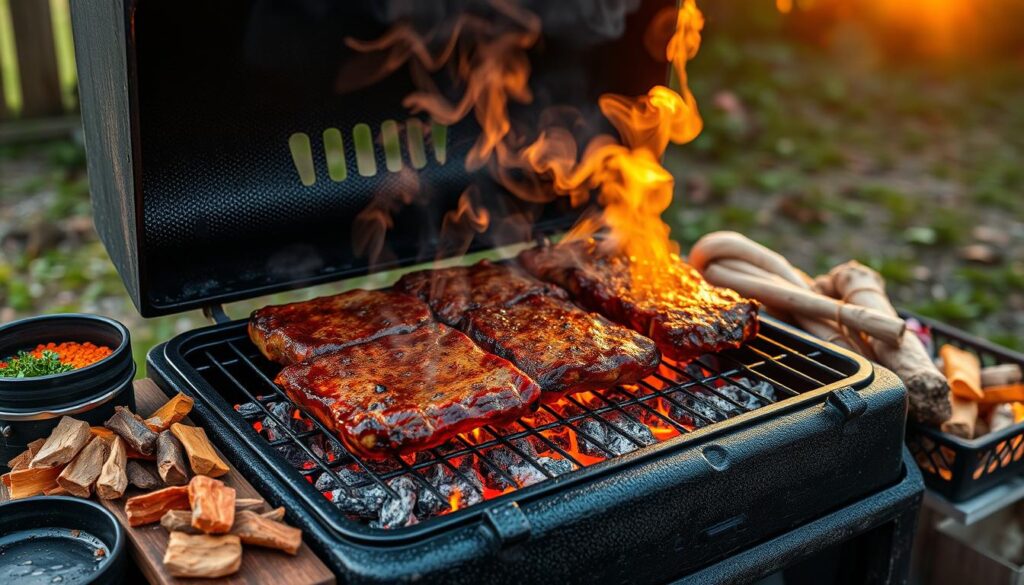
Take your smoked ribs to the next level by learning wood smoking. The right method can turn your beef ribs into a dish that wows BBQ fans.
Choosing the right wood is key for amazing smoked ribs. Each wood gives a unique taste:
- Oak: Offers a classic, medium-intensity smoke flavor
- Hickory: Brings a strong, bacon-like smokiness
- Apple: Adds a subtle, sweet undertone
- Cherry: Introduces a mild, fruity complexity
Here are some expert tips for smoking your ribs:
- Soak wood chips for 30 minutes to prevent quick burning
- Make a smoke pouch for gas grills using aluminum foil
- Keep the smoker at 250°F consistently
- Smoke for 4-6 hours total
“The secret to great smoked ribs is patience and precision in temperature control.” – BBQ Master Chef
For a perfect smoke ring, keep the smoker humid and the temperature steady. This will give you those beautiful pink edges that show your ribs are perfectly smoked.
Expert Tips for Tender and Juicy Ribs
Getting barbecue ribs just right is more than just grilling. Grill masters use secrets to make beef ribs tender and juicy. These tips will impress your guests every time.
The Texas Crutch Method
The Texas Crutch is a game-changer for ribs. It involves wrapping ribs in paper or foil halfway through cooking. Here’s why it’s effective:
- Locks in moisture
- Speeds up cooking process
- Prevents meat from drying out
Resting and Serving Techniques
Resting your ribs is key to keeping them juicy. After cooking, let them sit for 5-10 minutes before cutting. This ensures each bite is full of flavor.
“The difference between good and great ribs is often in the resting period.” – Grill Master Chef
Testing for Doneness
| Method | Description |
|---|---|
| Bend Test | Ribs should bend easily when lifted with tongs |
| Toothpick Test | Toothpick should slide through meat with minimal resistance |
| Temperature Check | Internal temperature should reach 190-203°F |
Pro tip: For perfectly cooked ribs, cook for 2.5 to 3 hours at 275°F. Remember, patience is key to tender, fall-off-the-bone ribs.
BBQ Sauce and Glazing Strategies
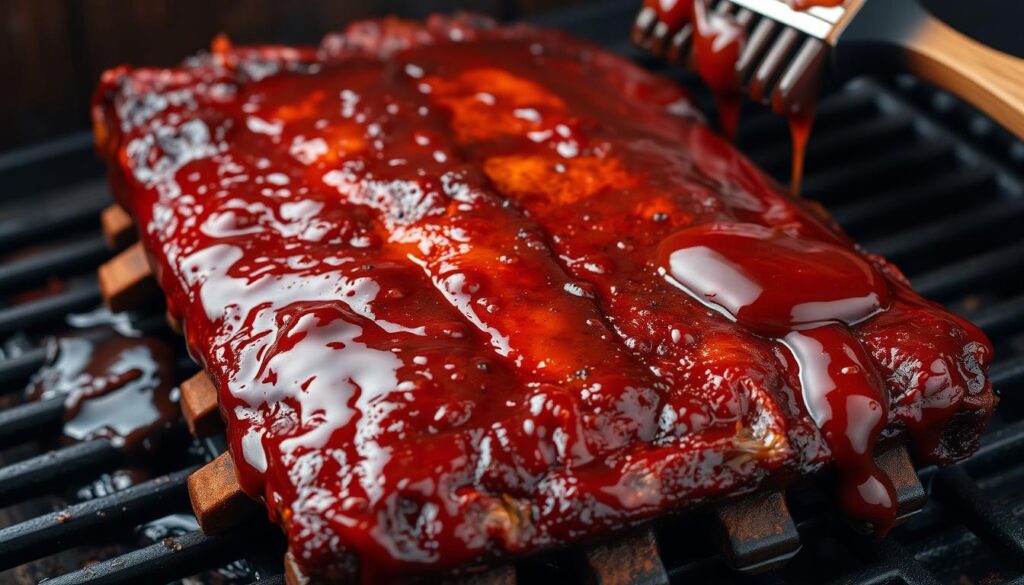
Turning your grilled beef ribs into something amazing starts with mastering rib sauce and glazing. The right techniques can take your barbecue to the next level. You’ll create dishes that wow even the pickiest meat lovers.
When to add rib sauce is key. Grill masters say to do it in the last 30 minutes. This prevents burning and gives a tasty caramelized finish. Your ribs will get a sticky, glossy look without burning the sauce’s sugars.
- Apply rib sauce sparingly to control flavor intensity
- Use a basting brush for even sauce distribution
- Layer flavors by combining dry rub and wet sauce
Making your own rib sauce means finding the right mix of sweet, tangy, and savory. Here are some classic flavors:
- Kansas City-style: Thick, sweet tomato-based sauce
- Texas-style: Spicy, less sweet with a pepper kick
- Carolina-style: Vinegar-based with mustard undertones
“The secret to great BBQ is patience and precision in sauce application.” – Barbecue Expert
The 3-2-1 smoking method pairs well with rib sauce techniques. Brush your ribs with a thickened sauce in the last hour. This way, you get a sticky glaze that caramelizes without burning. Your backyard will feel like a restaurant.
Troubleshooting Common Grilling Problems
Grilling beef ribs can be tough, even for experts. Unexpected problems can pop up, but knowing how to fix them can help. This way, you can make delicious ribs every time.
Preventing Flare-ups
Flare-ups can mess up your ribs fast. To avoid them:
- Keep a spray bottle of water ready to put out flames
- Trim off extra fat to cut down on drips
- Use indirect heat to cook
- Move ribs to a cooler spot on the grill if flames start
Avoiding Dry Ribs
Dry ribs are a griller’s worst fear. Keep your ribs moist by:
- Wrapping ribs in foil while they cook
- Basting with marinades or apple cider
- Cooking at a steady low temperature (250-275°F)
- Keeping an eye on the meat’s internal temperature
Fixing Temperature Issues
Keeping the temperature right is key for perfect ribs. Pro tip: Try the two-zone method. Use one side for direct heat and the other for indirect. This keeps the temperature between 225°F and 250°F steady.
“The secret to great ribs is patience and temperature control.” – BBQ Experts
Remember, cooking times change based on rib thickness and grill conditions. Always check with a meat thermometer. This ensures your ribs hit the perfect internal temperature of 195°F for tender, juicy results.
Conclusion
Grilling beef ribs is an art that needs patience, skill, and detail. By following this guide, you’ll make your backyard BBQ as good as a pro BBQ place. Perfect ribs come from knowing how to control temperature, picking good meat, and cooking the same way every time.
The secret to great ribs is low and slow cooking. Whether you use short or back ribs, keep the heat at 190-200 degrees. This makes them tender and full of flavor. Watching the heat, using a meat thermometer, and letting them rest properly are key.
Make your grilling better by adding classic sides like coleslaw, baked beans, and cornbread. These sides make a complete meal that will wow your guests. With practice, you’ll be a BBQ pro, serving ribs that are the star of any event.
Your grilling journey begins now. Try new seasonings and smoking woods, and enjoy the tasty results of your effort. Grilled beef ribs are more than food; they’re a celebration of taste, skill, and passion for cooking.


