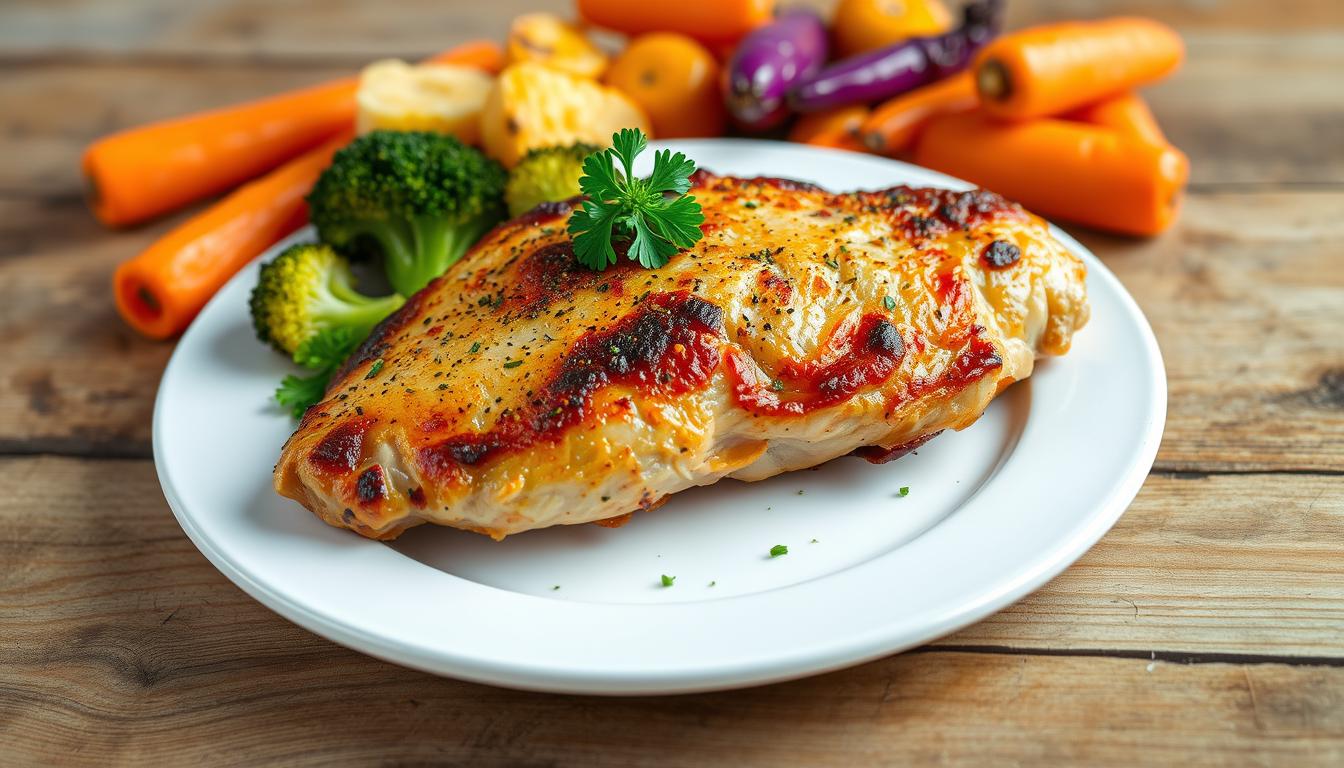
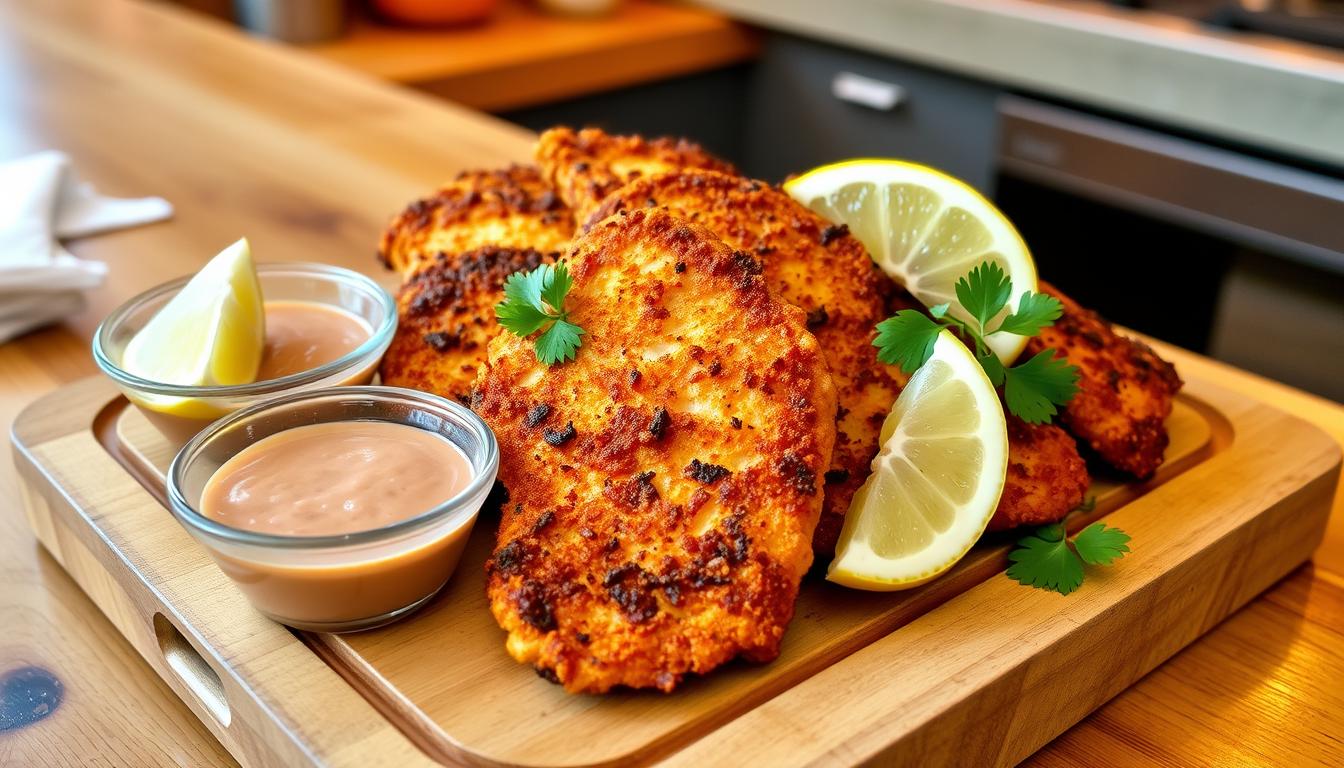
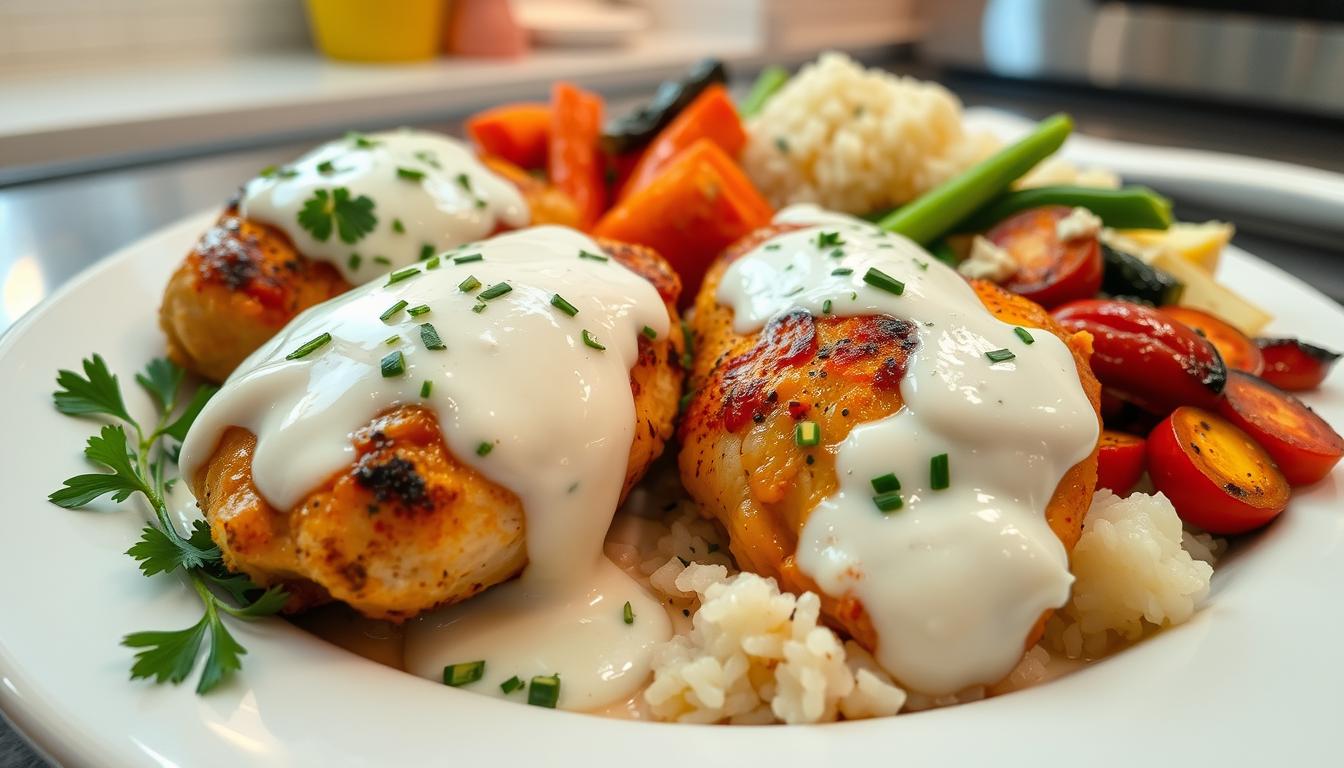
Imagine a golden, crispy breaded chicken breast straight from the oven. Its crunchy outside gives way to tender, juicy meat that makes your taste buds dance. Making breaded chicken breast in the oven turns a simple weeknight dinner into a special treat.
Crispy oven-baked chicken is a favorite in many American homes. It’s a healthier choice compared to deep-frying. With a few basic ingredients and some clever cooking tips, you can make a dish that rivals restaurant quality.
This recipe is more than just cooking chicken. It’s about making a meal that brings comfort, flavor, and joy to your dinner table. Whether it’s for family or friends, a perfectly breaded chicken breast in the oven is always a hit.
Table of Contents
Why Oven-Baked Breaded Chicken is a Perfect Dinner Choice
Looking for a tasty meal that’s quick and healthy? Oven-fried chicken breast is a great choice for busy cooks. It’s easy to make and always a hit.
Baked breaded chicken tenders are a favorite for families. They offer a healthier option compared to deep-frying. This method brings out amazing flavors while keeping things simple.
Benefits of Baking vs. Frying
Baking your chicken has many benefits over frying:
- Less oil used
- Easier to clean up
- Less mess in the kitchen
- Healthier cooking method
- Keeps chicken moist
Time and Cost Efficiency
Oven-baked breaded chicken cooks in just 25 minutes. It’s perfect for busy days. The prep is easy, needing only a few ingredients.
“Delicious meals don’t have to be complicated or time-consuming!” – Home Cooking Enthuasiast
Health Advantages
Choosing oven-fried chicken breast means a protein-rich meal with less fat. A serving has:
- Calories: 235 kcal
- Protein: 29g
- Carbohydrates: 10g
- Fat: 8g
Baking instead of deep-frying is a smart health choice. It doesn’t mean giving up on taste or texture.
Essential Ingredients for Perfect Breaded Chicken Breast in Oven
Making a tasty panko-crusted chicken breast begins with picking the right ingredients. Your success in the kitchen depends on choosing each part carefully. This ensures the best flavor and texture.
For parmesan-crusted chicken, you need certain high-quality items. Here’s what you’ll need:
- Boneless, skinless chicken breasts (approximately 1½ pounds)
- Panko breadcrumbs (1½ cups)
- Grated Parmesan cheese (2 tablespoons)
- Large eggs (2)
- Kosher salt (1 teaspoon)
- Granulated garlic powder (½ teaspoon)
- Cayenne or black pepper (¼ teaspoon)
- Extra virgin olive oil (¼ cup)
The secret to a great breaded chicken breast is balance. Panko breadcrumbs give a lighter, crisper coating than regular breadcrumbs. Parmesan cheese adds a rich, savory depth that makes the dish even better.
Pro tip: Choose chicken breasts that are uniform in size for even cooking.
| Ingredient | Quantity | Purpose |
|---|---|---|
| Panko Breadcrumbs | 1½ cups | Creates crispy exterior |
| Parmesan Cheese | 2 tablespoons | Adds flavor complexity |
| Eggs | 2 large | Helps breading stick to chicken |
When making your panko-crusted chicken breast, make sure all ingredients are fresh and at the right temperature. Paying close attention to these details will make your meal a hit at dinner.
The Secret to Creating the Perfect Breading Mixture
Making the perfect breading for your breaded chicken breast in oven is key. It’s all about texture, flavor, and technique. The right breading turns a simple dish into a masterpiece.
Mastering the Breadcrumb Combination
Start with a mix of panko and Italian breadcrumbs. Panko makes it light and crispy. Italian breadcrumbs add a rich flavor. Together, they create the ultimate coating.
- Panko creates an extra crispy exterior
- Italian breadcrumbs add depth of flavor
- Mixed together, they provide the perfect coating
Seasoning Your Breading for Maximum Flavor
The secret to a memorable breaded chicken breast in oven is in the seasoning. A well-made seasoning blend can make your chicken milanese baked truly special.
| Seasoning | Amount |
|---|---|
| Kosher Salt | 2 teaspoons |
| Black Pepper | ½ teaspoon |
| Garlic Powder | 2 teaspoons |
| Rosemary | 2 teaspoons |
The Parmesan Cheese Advantage
Adding grated Parmesan cheese to your breading gives it a zesty, nutty flavor. It makes the crust golden and adds a rich umami taste.
“The right breading is an art form that transforms simple chicken into a restaurant-quality meal.”
Pro tip: Sprinkle about ¼ cup of finely grated Parmesan into your breadcrumb mixture for maximum flavor impact. Your taste buds will thank you!
Step-by-Step Preparation Techniques
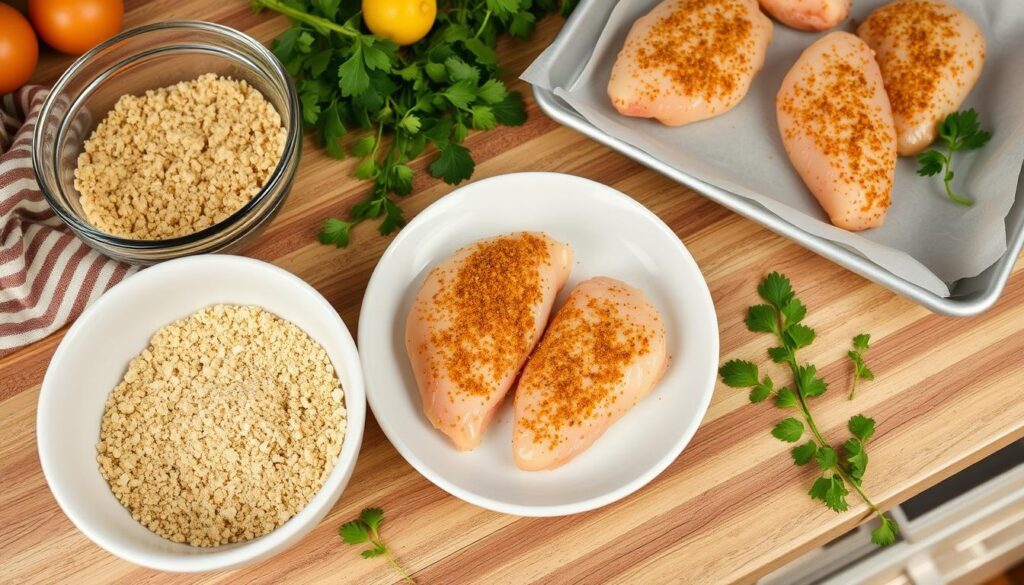
To make the perfect oven-fried chicken breast, you need a careful prep process. Start by setting up a breading station. This turns simple chicken into a crispy, tasty dish.
Here are the key steps for top-notch results:
- Trim and flatten chicken breasts to an even 1/2-inch thickness
- Prepare two separate pie tins or shallow dishes:
- One for liquid mixture (egg wash)
- Another for breadcrumb coating
- Create a seasoned breadcrumb blend with:
- Panko breadcrumbs
- Italian herbs
- Grated Parmesan cheese
- Dip chicken in liquid mixture, ensuring full coverage
- Coat chicken thoroughly in breadcrumb mixture
- Press breadcrumbs firmly to create an even, thick coating
Pro tip: For extra crispiness, spray your oven-fried chicken breast lightly with cooking oil before baking at 425°F.
“The secret to perfect breading is in the technique, not just the ingredients.” – Professional Chef
By following these steps, your herb-crusted baked chicken will get a golden, crunchy outside. It will also stay juicy inside.
How to Achieve the Crispiest Coating
Creating the perfect crispy oven-baked chicken is more than just mixing ingredients. It’s about mastering the breading technique. This will turn your breaded chicken breast into something truly special.
To get that restaurant-quality crunch, you need to understand the basics of breading. Your goal is to make a golden, crispy outside. This outside should lock in moisture and flavor.
Proper Breading Technique
To get a perfect crispy coating, follow these steps:
- Pat chicken breasts dry with paper towels
- Set up a three-station breading area:
- Flour mixture
- Egg wash
- Panko breadcrumb blend
- Press breadcrumbs firmly onto chicken
- Avoid wet spots to prevent soggy breading
Temperature Control Tips
Temperature is key for crispy chicken. Preheat your oven to 425°F. This ensures quick, even cooking for a crisp outside.
Butter vs. Oil Comparison
| Ingredient | Crispiness | Flavor | Health Factor |
|---|---|---|---|
| Butter | Golden brown | Rich, nutty | Higher saturated fat |
| Olive Oil | Lighter crisp | Mild, clean | Heart-healthy |
Pro tip: Use a dark, non-stick pan. It helps distribute heat evenly. This ensures a perfect crispy coating on your breaded chicken breast.
“The secret to crispy chicken is in the details of preparation and cooking technique.” – Professional Chef
By using these techniques, you’ll make crispy oven-baked chicken that’s as good as any restaurant dish. And you can do it all in your own kitchen.
Baking Time and Temperature Guide
Getting the baking time and temperature right is key to making tasty baked breaded chicken tenders. They should be crispy outside and juicy inside. Knowing the exact cooking times and temperatures is essential for oven-fried chicken breast.
Temperature is the main factor in making a great chicken dish. For baked breaded chicken tenders, experts suggest the following temperature range:
- Optimal baking temperature: 375°F to 425°F
- Recommended cooking time: 25-30 minutes total
- Chicken thickness: Approximately ½ inch after pounding
“The secret to perfect baked breaded chicken tenders is consistent temperature and careful monitoring.” – Professional Chef
When making your oven-fried chicken breast, follow these important steps:
- Preheat your oven to 425°F
- Bake uncovered for about 15 minutes on one side
- Flip chicken and bake for an additional 10-15 minutes
- Check internal temperature reaches 165°F
Pro tip: Use a meat thermometer to ensure food safety and prevent overcooking. The FDA recommends an internal temperature of 165°F at the thickest part of the chicken.
Remember, cooking times can vary based on your oven and chicken thickness. Always adjust as needed and use a meat thermometer for perfectly cooked chicken every time.
Tips for Keeping Chicken Juicy and Tender
Cooking the perfect panko-crusted chicken breast is more than just a recipe. It’s about keeping it moist and tender. This is key to a great dish.
Mastering the Brining Technique
Brining is a big help for your parmesan-crusted chicken. Soaking chicken in saltwater makes it juicy. Here’s how to brine:
- Use lukewarm water with salt
- Brine for 15-30 minutes
- Rinse with cold water
- Pat dry thoroughly
The Critical Importance of Resting Time
After cooking your breaded chicken, be patient. Let it rest for 10 minutes after taking it out of the oven. This helps juices spread evenly, making each bite juicy.
Internal Temperature Guidelines
| Chicken Breast Size | Cooking Time | Internal Temperature |
|---|---|---|
| 4-6 ounces | 18 minutes | 165°F |
| 7-8 ounces | 20 minutes | 165°F |
| 9+ ounces | 22 minutes | 165°F |
Pro tip: Always use a meat thermometer to check internal temperature for perfectly cooked chicken every time!
By using these tips, your panko-crusted chicken will go from good to great. It will be tender and full of flavor. Your family and friends will love it.
Serving Suggestions and Side Dishes
Your chicken milanese baked dish needs amazing sides to make the meal special. The right sides can turn your herb-crusted baked chicken into a dinner fit for a restaurant.
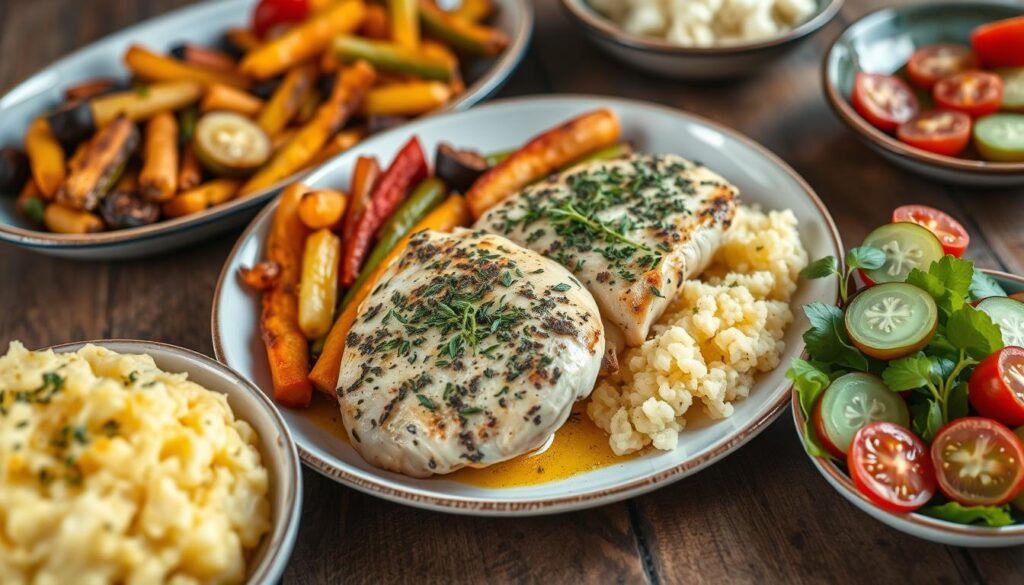
- Creamy Parmesan Rice (30-minute preparation)
- Garlic Parmesan Green Beans (25-minute cooking time)
- Honey Butter Skillet Corn (quick 15-minute side)
- Instant Pot Loaded Potato Casserole
Looking for something different? Try these exciting flavor combinations:
- Italian-Inspired: Serve with spaghetti and homemade marinara sauce
- Mediterranean Style: Pair with roasted vegetable medley
- Comfort Food: Match with creamy mac and cheese
“The perfect side dish transforms a good meal into an unforgettable dining experience.” – Professional Chef
Choosing the right sides can make your chicken milanese baked dish even better. Pick sides that balance texture and flavor. Also, think about using seasonal vegetables and cooking methods that keep your chicken crispy.
Storage and Reheating Instructions
Keeping your breaded chicken breast in oven tasty requires the right storage and reheating. After you’ve eaten, follow these tips to keep your chicken crispy and safe. This way, you can enjoy it again like it’s the first time.
Refrigeration Guidelines
Let your chicken cool on a wire rack before storing. Put it in shallow, airtight containers. Your breaded chicken can stay in the fridge for 3 to 4 days.
Freezing Recommendations
- Wrap each piece in plastic wrap
- Put them in freezer-safe containers
- Freeze for up to 3 months
Reheating Methods
Here’s how to make your chicken crispy again:
- Oven Method:
- Preheat to 400°F
- Put chicken on a wire rack
- Heat for 10-12 minutes
- Air Fryer Method:
- Set to 350°F
- Cook for 8-10 minutes
- Make sure it’s 165°F inside
“The key to maintaining your chicken’s delectable crunch is proper reheating technique.” – Culinary Expert
Always check the chicken’s internal temperature when reheating. This ensures it’s hot and safe to eat. Enjoy your chicken as if it were just made!
Conclusion
Learning to make breaded chicken breast in the oven is a big step. It’s a simple yet tasty way to make your dinners special. You’ll become a pro in the kitchen, making every meal exciting and healthy.
Try out different seasonings and breadcrumbs to make your dish unique. You can go for a classic Italian flavor or try something new and spicy. The secret to success is keeping the oven at the right temperature and using top-notch ingredients.
This recipe shows that healthy food can be easy and delicious. You only need one pan and a little prep time to make a meal that’s as good as a restaurant’s. The possibilities are endless, so you’ll always have something new to try.
We want to hear about your cooking adventures. Share your changes and how your dish turned out. Your kitchen is a place for creativity, and this recipe is just the start. Get your ingredients ready, preheat the oven, and show off your cooking skills!


